Amikor felkeres egy webhelyet, az információkat tárolhat vagy kérhet le az Ön böngészőjében, többnyire cookie-k formájában. Ezek az információk szólhatnak Önről, az Ön preferenciáiról vagy az Ön eszközéről, és többnyire arra szolgálnak, hogy a webhely az elvárásoknak megfelelően működjön. Az információk általában nem azonosítják Önt közvetlenül, de személyre szabottabb internetes élményt nyújthatnak.
Mivel tiszteletben tartjuk a magánélethez való jogát, dönthet úgy, hogy nem engedélyez bizonyos típusú sütiket. Bizonyos típusú cookie-k letiltása azonban hatással lehet az oldallal kapcsolatos élményére és az általunk kínált szolgáltatásokra.
Engedélyezi a:-t
Feltétlenül szükséges cookie-k (kötelező)
Ezek a cookie-k szükségesek ahhoz, hogy Ön böngésszen weboldalunkon és használhassa annak alapvető szolgáltatásait, és nincs szükség az Ön hozzájárulására. Ezek a cookie-k lehetővé teszik számunkra, hogy a weboldal alapvető funkcióit (fiókhozzáférés, használt nyelv, lejátszási sorrend, fizetés) kínáljuk Önnek. stb.), valamint személyazonosság-ellenőrzésre és biztonságra is használható. Ha letiltja őket, nem tudjuk teljesíteni az alapvető kérést.
Ezek a cookie-k névtelen információkat gyűjtenek az Ön online működési viselkedéséről, amelyek segítenek nekünk a webhely felépítésében. Ha elutasítja ezeket a sütiket, előfordulhat, hogy nem fogja tudni használni webhelyeink és szolgáltatásaink egyes funkcióit.
Ezek a sütik lehetővé teszik számunkra, hogy emlékezzünk az Ön preferenciáival kapcsolatos döntéseire, például arra, hogy melyik nyelvet részesíti előnyben. Ha elutasítja ezeket a sütiket, úgy érezheti, hogy a webböngészés hatékonysága csökkent.
Ezek a sütik személyre szabott tevékenységeket végeznek az Önt érdeklő termékek és szolgáltatások hirdetésére. Ha elutasítja ezeket a sütiket, továbbra is olyan hirdetéseket fog látni, amelyek nem igazán relevánsak az Ön érdeklődéséhez vagy keresletéhez.

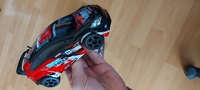
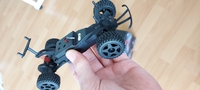
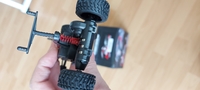
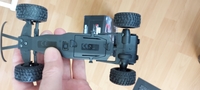
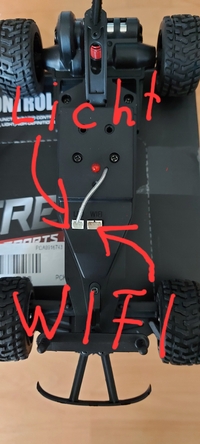
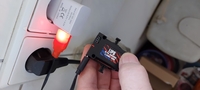
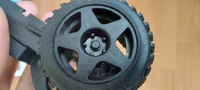


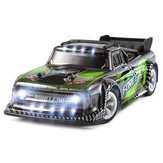

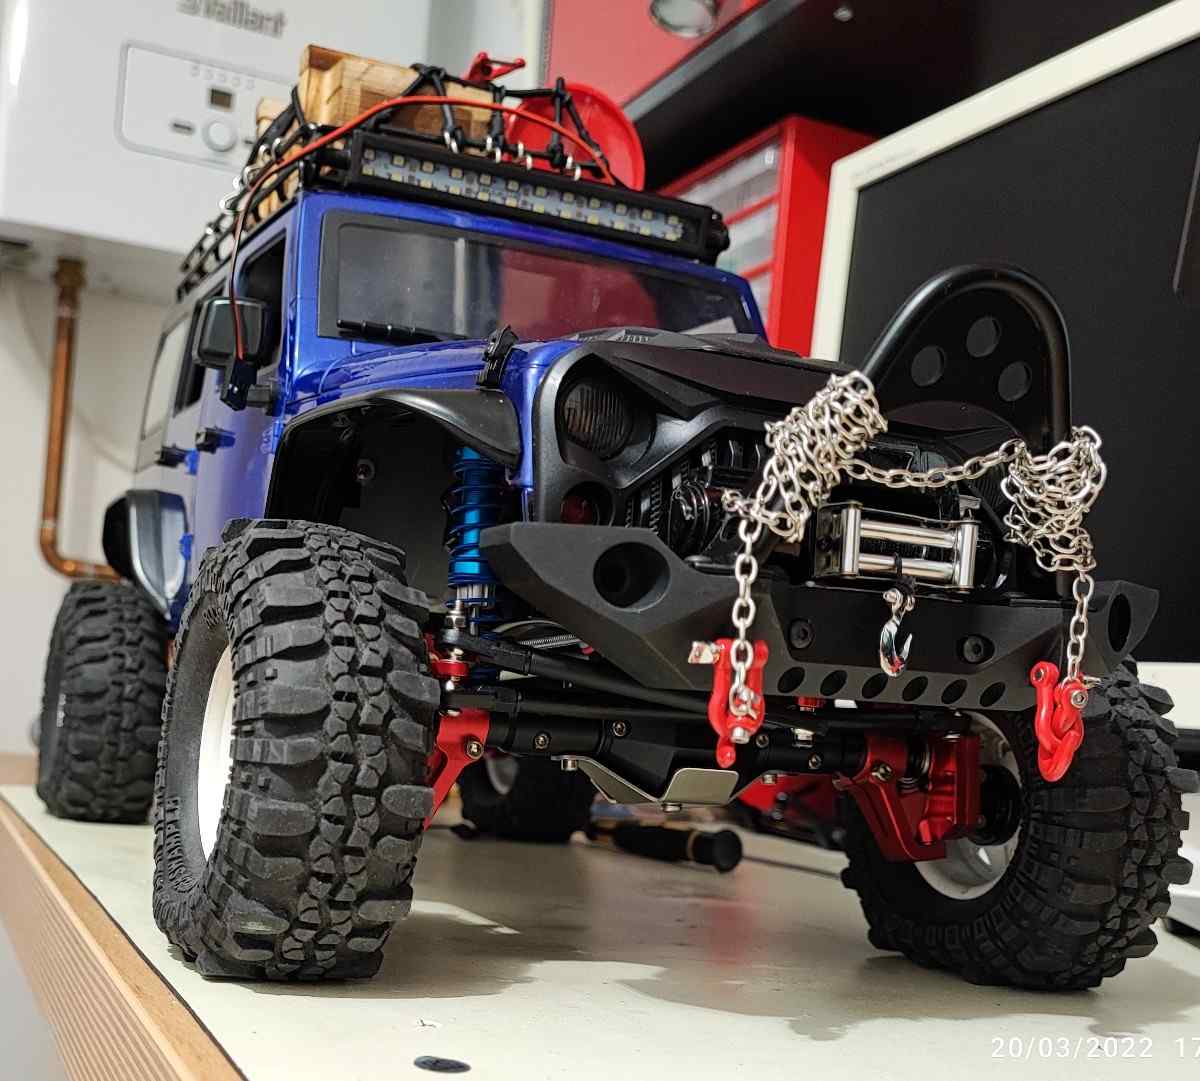

xtRaymon21 Ihre Beschreibung im vollständigen Bild ist super genau. Sehr gute Fotos und Ihr Schreiben ist so klar, wie Sie es definieren können. Vielen Dank für diese genaue und aussagekräftige Beschreibung der tatsächlichen Leistung dieses RC-Fahrzeugs. Vielen Dank dafür